Tuesday, December 7, 2010

Holiday Parade


This weekend Nick and I volunteered to work at the Children's Medical Center Holiday Parade, with our friends Kristen and Craig. Kristen's mom was in charge of the parade for years. We were helping with the timing of the parade, which meant that we had to spread out down the parade route and make sure that the parade moved in an organized fashion. An even more exciting element to that, was that Nick got to wear a headset. I'm glad he was in charge of that aspect, because it was hard to hear with marching bands playing right next to you, and inevitably they always needed the parade to slow or stop right as a band was passing us.

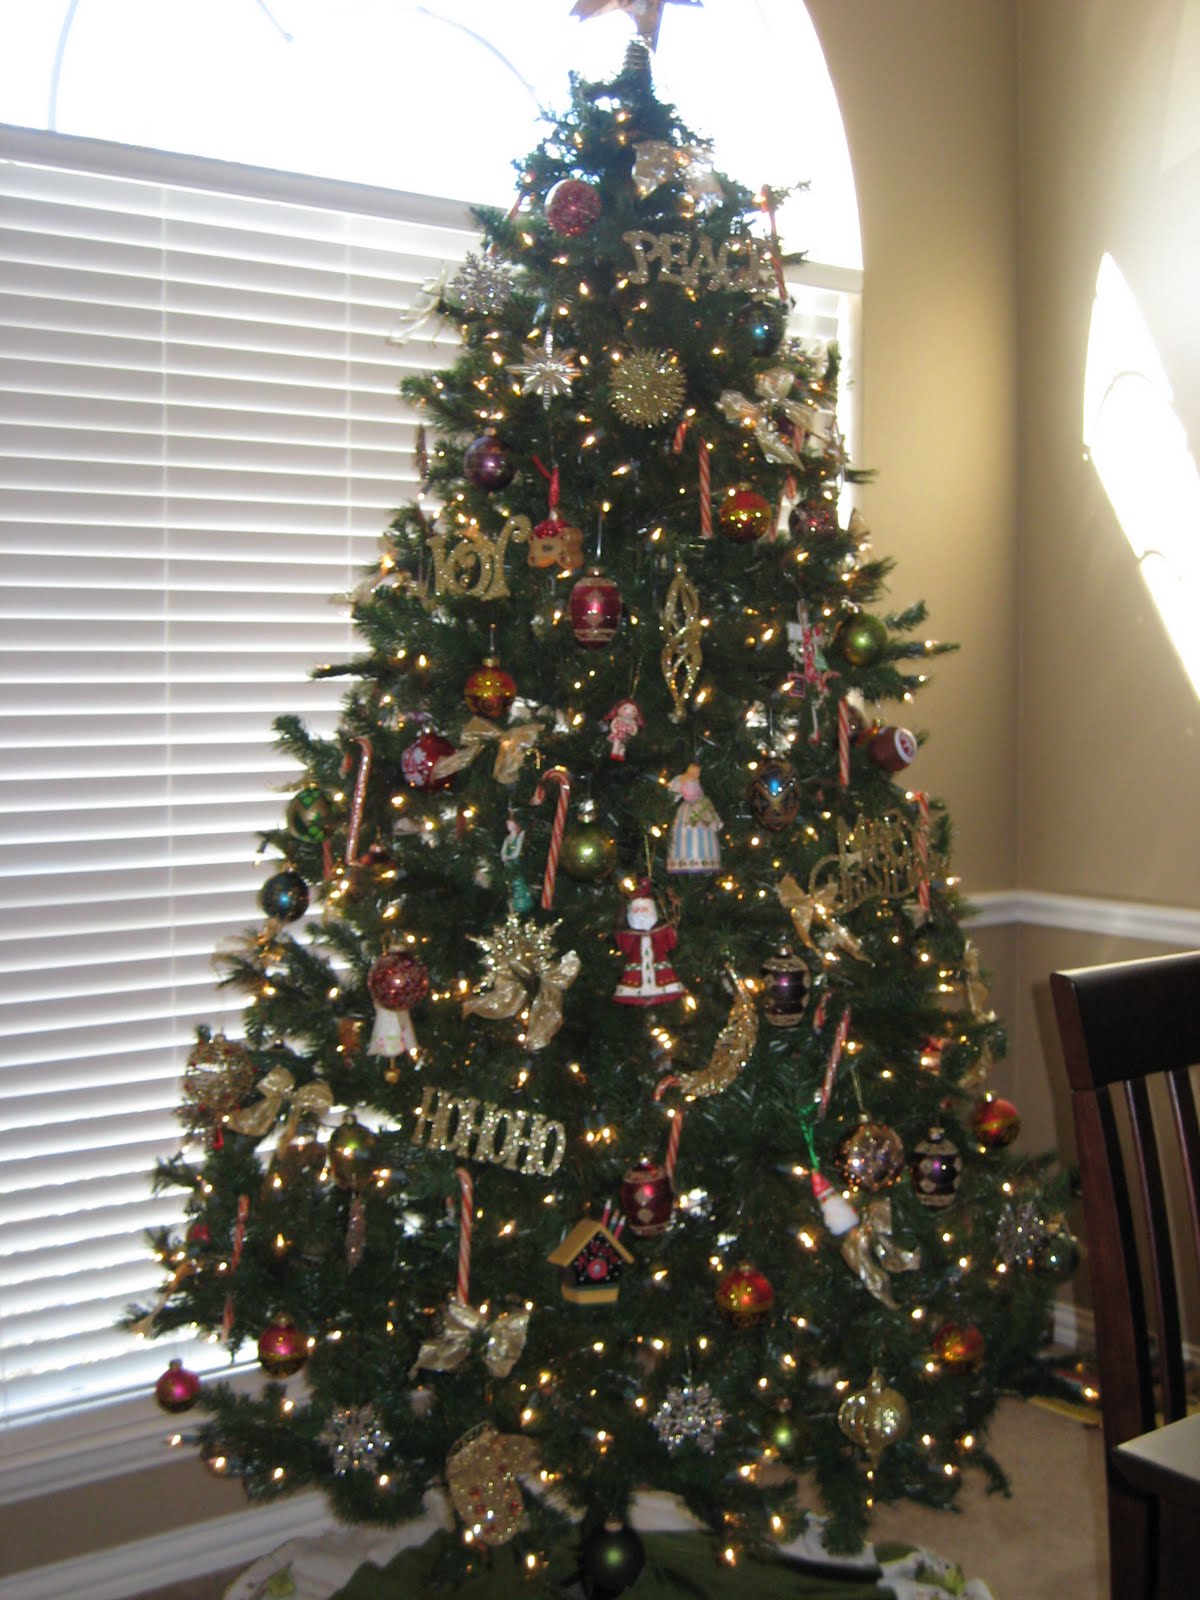
We stayed at the Adolphus the night before the parade with Craig and Kristen. It was fun getting to get the behind the scenes tour of the hotel with Kristen, because she knew all the back ways to get ANYWHERE. Little kids swarmed the lobby, dressed in their pajamas, hanging out by the giant Christmas tree. We also had a good time teasing Craig, because he found out the 19th floor of the hotel was supposedly haunted and spent half the night researching and watching videos on the computer. I'll admit that I would have a pretty hard time going up there at night time, after watching a video of all the elevator doors randomly opening and closing over and over. Nick swears for only $500 he would spend the night in the old ballroom, that is convinently sealed off behind the walls of the remodeled top floors. Knowing him, he could probably be up there and sleep like a baby. I'm beginning to wonder if there's anything that scares Nick.

The parade was beautiful and had so many fun elements for children. They had characters from favorite kids shows, marching bands and dancers, Christmas themed floats, giant inflatables, guest appearances by Ian Kinsler and Darren Oliver (boo...we are still bitter in Dallas about his less than stellar performance in the World Series)and Santa, as well as a performance by David Archuleta (who Nick can't stand, by the way). It was fun watching it all up close kneeling on the curb at street level. The kids reactions around us were so entertaining to watch. You could just hear the excited screams of "Santa's coming!" at the end of the parade. I can't wait to take my future kids to see it!

The best moment of the day, was when the drivers of four race car floats, which were converted from golf carts, were abandoned at the end of the parade. Kristen's mom asked us if we would mind driving them in the motorcade, from downtown to Fair Park. I was a little nervous (being an inexperienced golf cart driver) but once we got on the road it was so much fun. We looked hilarious too, almost like we were driving little toy cars down the streets. There were only a few minutes, when we were driving through a shady part of town, that I was saying a silent prayer for our safety. At the end of the day, we both had an excellent and fulfilling time helping out a friend and getting ourselves in the Christmas spirit.


Sunday, November 28, 2010

Dashing Through the...Christmas Decorations

This is one of my favorite times of year. I love fall, but Christmas time puts a special smile on my face. It's the time of year that I can revert back to acting like a child and not feel one bit guilty. I love gift giving, I love Santa, I love twinkling white Christmas lights and I especially love decorating for Christmas. After Nick and I drove home from Houston on Saturday, he pulled all 11 tubs of Christmas decorations and all of our lights and yard decorations from the attic. We sure have accumulated a LOT of Christmas stuff over the years. Here was a picture of the garage before I started tearing into the boxes.


It took a long time to get all the decorations up and in the process my house looked like a tornado had struck leaving red and green fabric and greenery in it's wake. Here's a quick tour of a few of my house:

Mantel Before I decorated my garland and after:


I have about 4 strands of garland woven together with lights and then I just add in a whole lot of junk I've collected over the years; birds, gold clip on poinsettas ornaments pinecones. I'd really like some feathers on the corners and I'm thinking this year about adding in some berry twigs.


A few up close garland shots:


My Jim Shore figurine collection (love these!)


Homemade art for my plate stand (dollar store frame, scrapbook paper and $1 ornament from Walmart):


Dollar Tree has the GREATEST vase fillers. Most of my vases and containers are filled with their ornaments (6 or 8 for a $1) or these adorable gold bells (9 for $1). I just toss some fake snow or cinnamon sticks in with them and have cute, super cheap decorations.


My new decorations for my entry table. I saw a chalkboard in the Pottery Barn catalog and attempted to copy it. I had an old frame with broken glass, so I removed the glass, sprayed painted the frame Heirloom White (best spray paint white color by far) and sprayed the cardboard with chalkboard paint. I was attempting to spend $0 but I will have to get something other than cardboard soon. It doesn't write very clearly. I changed the layout of the table from the first picture already. I took the board off the wall and stuck some poinsettas in the corner. I put a Christmas quote up and decorated the rest of the table with poinsettas, another homemade piece of art and my jars of Dollar Tree giant peppermint sticks and ribbon peppermint candy.


Here is my art nook (I'm wanting to replace my canvases this year with hand painted art for the holidays...that's my 2010 project). Below is my chest, with my pillow that I got as a present from a friend and our hand painted Christmas boot we got from my aunt and uncle last year. Isn't it cute! Above this is the "Falala" picture from above. It's is a sign I found 80% at Joanns last year and around that are 3 of my Jim Shore angels.


This is our Christmas tree. How beautiful do Christmas trees look when the lights are turned on. This is one of my FAVORITE things during Christmas time...sitting and looking at my tree. I have loved it since I was a little girl. I love to have all my personal ornaments on my tree. Most of my childhood ornaments are still on my mom and dad's tree, but Nick and I have started a small collection of our own. To fill in, I have ornaments that I got on sale at Target 70% the day after Christmas many years ago. That was a fun shopping day with my mom searching for good bargains. I got MANY of my decorations that first year in the house on sale after Christmas, while Nick was still away in Iraq.

My favorite ornaments...

OK...so I love Christmas ornaments. How can you not!

Some other random decorations:


These two snowman banners hang in my entry hall. Another JoAnn's find.

(only 1 pic would load and I'm getting tired after this hour long blog full of pictures...sorry)

And last, but certainly not least my brand spankin' new Countdown to Christmas calendar. I purchased this at a craft fair and spent $50 on it. That is WAY more than I've spent on any other single decoration, but it was too cute to pass up. I can just imagine using this with my own children, letting them countdown the days until Christmas is here. It has a cute item decorated with a number for each of the 25 days until Christmas.


Don't you just love Christmastime!

Monday, November 22, 2010

Easy Baked Penne with Ricotta and Basil

Another yummy freezer meal for you!
Baked Ziti with Ricotta and Basil
(or "Clean Out the Fridge" Ziti)

Ingredients
1 box of penne pasta
1 cup part-skim ricotta cheese
2 tbsps. chopped fresh basil and oregano (sub dried herbs if you don't have any fresh on hand)
1 (25-ounce) jar marinara pasta sauce, divided
1/4 teaspoon ground black pepper
3/4 cup shredded mozzarella cheese
2 cups of cooked chicken shredded (You could use ground beef instead or no meat, if you wish)
Directions

Preheat oven to 350°F. Cook penne according to directions on package, then drain and set aside to let cool for 5 minutes. Meanwhile, combine ricotta cheese, basil, 1 cup of the pasta sauce and pepper in a large bowl. Transfer pasta to bowl with cheese mixture and toss gently to coat. Spread 1/2 cup of the remaining pasta sauce over the bottom of a 8-inch baking dish. Spoon 1/2 pasta mixture into dish and spread out evenly. Drizzle remaining sauce over the top, sprinkle with mozarella and bake until golden brown and hot throughout, about 30 minutes.

For Freezer:
In freezer safe dish, spread 1/2 cup of sauce. Top with remaining pasta. Freeze. Thaw in fridge, sprinkle with cheese and heat in oven at 350°F for 30-45 minutes.


Cooking and Christmas Cards

After being ill for a week I was so excited to actually feel like a symblance of my regular self. After a day of shopping with the girls, I got into major Christmas card-making mode and geared up to finish making my family Christmas cards. I dug through my craft tubs today and found some stamping supplies and a few cute accessories that I thought I might be able to use. So I began my venture into the world of card making once again. This time I felt like I understood what to do to get myself started, and before I knew it I was cutting paper and stamping myself into a frenzy. I even made a cute little layered pointsetta out of red paper (my favorite creation of the day). At the end of it all I had made 10 cards, though I discarded three because they not up to Erin standard. Here are a few of my latest card designs.


I also had to make dinner in the process of card making. Since Thanksgiving is just a few short days away and we are going out of town to my parents house, I decided to have a "clean out the fridge" meal night. So I cooked a double portion of "baked ziti" adapted to fit the junk in my fridge. I had a get creative with freezing my extra portion because I was out of freezer containers, but out of my creativity, I think a brillant idea was born. And here it is:

1. Line your baking dish with foil.


2. Fill dish with freezer meal.


3. Fold over foil, then pop the whole dish in the freezer.


4. After a couple hours, take dish out of freezer and remove from dish.


5. Place into baggie, then put it back in the freezer. Label back with recipe name and reheating directions.


Now imagine, when it's time to reheat you just take the baggie out of the freezer and slide it back into your baking dish! Added bonus being that once you are done eating you can throw all the foil in the trash and your dish should still be clean. Plus, I would think that the baggies would be really easy to stack up in your freezer without taking out to much room. So...we'll find out soon if this idea is genius or a total flop.

Pretty good for my first day back after being sick with the ick!
Related Posts Plugin for WordPress, Blogger...